No products in the cart.



You're probably looking at a small lyophilized vial, a syringe, and a peptide dosage calculator, trying to turn a simple label into an exact draw volume without wasting material or introducing avoidable error. That moment is where most dosing mistakes begin. The math seems easy until mg, mcg, mL, syringe units, purity, and reconstitution technique all collide.
A good peptide dosage calculator helps, but it doesn't replace understanding. If you know why the numbers work, you can verify the tool, spot bad assumptions, and avoid the handling mistakes that undermine otherwise careful research. That matters whether you're working with a single compound like GHK-Cu, evaluating peptide blends, or comparing concentrations for different lab protocols.
A vial label tells you how much peptide is present. It doesn't tell you what to draw into the syringe. That gap between total content and usable dose is where reconstitution math matters.
A basic peptide dosage calculator is designed for exactly that step. One free research tool converts three inputs, vial size, bacteriostatic water volume, and target dose, into solution concentration and exact syringe draw volume. Its example shows that drawing 500 micrograms from a 5 mg vial mixed with 5 mL of water requires pulling the syringe to 16.66% of its capacity, which illustrates how a calculator removes manual guesswork when used correctly (DN Lab Research peptide dosage calculator).
That convenience is useful, but calculators only work as well as the assumptions behind them. If the water volume is entered incorrectly, if the target dose is in the wrong unit, or if the peptide's actual characteristics aren't accounted for, the output can still be wrong.
The biggest source of confusion isn't usually advanced chemistry. It's unit translation.
You start with milligrams in a vial, convert that into a concentration per milliliter, then translate the target amount into a volume to withdraw, and finally into syringe units. Miss one conversion and the rest of the workflow shifts.
Practical rule: Never trust a number you can't reproduce by hand.
That's why experienced labs treat the calculator as a speed tool, not as the final authority. Some professional-grade tools go far beyond basic math and include weight-based dosing in mcg/kg, automated scheduling, preset peptide libraries, PDF handout export, and visual dosage meters that show the exact mL to withdraw for single compounds and multi-peptide mixtures (PePedHub dosage calculator tool). Those features help standardize lab workflows, but the operator still needs to understand the fundamentals.
Accurate peptide research depends on two things working together:
The benefits of peptides in research depend on consistency. If one draw is off, the entire comparison set can be harder to interpret. Precision protects the experiment, not just the vial.
A vial label gives you mass. A syringe measures volume. Reconstitution is the step that connects those two without guesswork.
The math itself is straightforward, but the order matters. Start with concentration. Then calculate the volume needed for the target dose. After that, convert that volume into the markings on the syringe you use at the bench. Many online calculators stop at a clean-looking number, yet clean output does not guarantee an accurate setup if purity, blend ratio, or syringe scale were ignored.
Use the basic formula:
Concentration = total mass ÷ total volume
If a vial contains 5,000 mcg of peptide and you add 2 mL of diluent, the final concentration is 2,500 mcg/mL. That number defines every dose that comes out of the vial. Without it, every later step is an estimate.
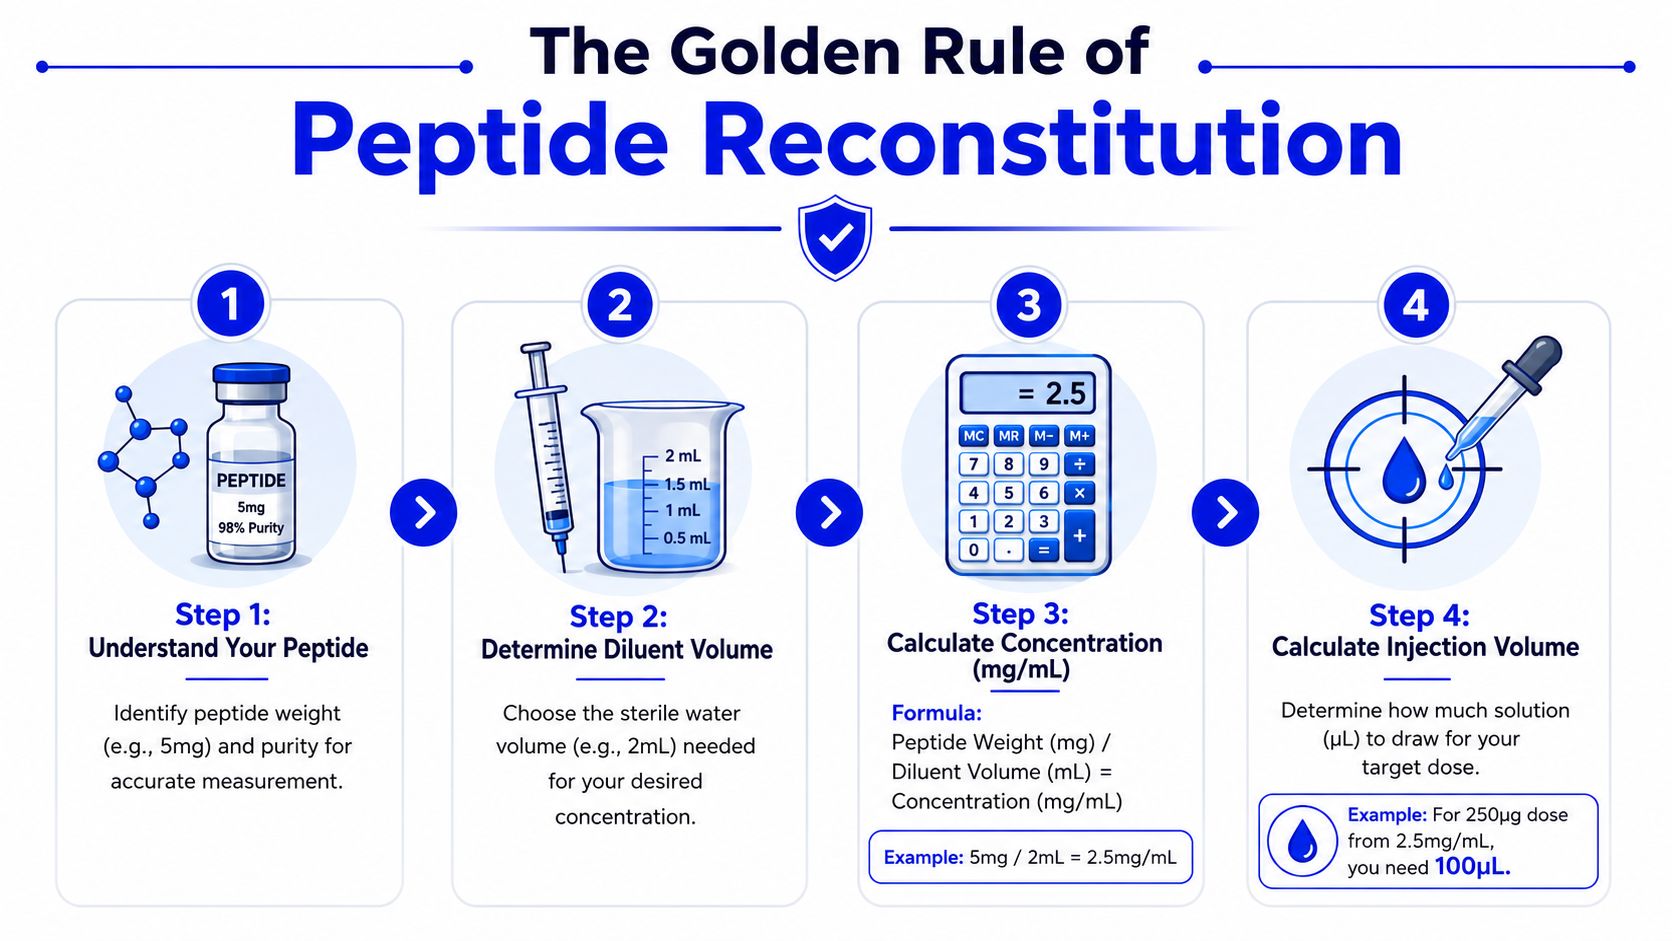
Concentration is not just a formula on paper. It is the operating strength of the solution in your vial. If the true peptide content differs from the labeled mass because of purity or a blended formulation, the actual concentration differs too. That gap is one of the main reasons a calculator can give a tidy answer and still leave a researcher with the wrong dose.
Once concentration is established, calculate the withdrawal volume:
Draw volume = target dose ÷ concentration
If the target dose is 500 mcg and the solution concentration is 2,500 mcg/mL, the required draw is 0.2 mL.
At this point, abstract numbers become a physical syringe measurement. Higher concentration produces a smaller draw. Lower concentration produces a larger one. Both can work, but there is a practical trade-off. Very small draws are harder to read consistently, while very dilute preparations increase injection volume and can make routine handling less efficient.
A calculator should shorten your workflow, not replace your reasoning.
For people who work with GLP-1 research topics and want a practical example of dose scheduling language, this expert guide on Wegovy is useful as a reference for how structured dose progression is communicated clearly, even though peptide reconstitution math follows its own separate process.
Later in the workflow, a good visual explanation helps more than another formula. This walkthrough is a helpful complement to the written math:
Researchers often work in milliliters during calculation and in syringe units during preparation. On a standard insulin-style syringe, 1 mL equals 100 units. That fixed conversion lets you turn a volume into a draw mark.
One commonly used calculator formula expresses it this way: Units to draw = (target mcg ÷ (vial mg × 1000)) × water mL × 100, based on the 1 mL to 100 units conversion (Rite Aid peptide dosage calculator formula).
The formula is important because most practical mistakes happen at the syringe, not on the calculator screen. I tell new team members to be fluent in all four labels of the same problem: mg in the vial, mcg in the protocol, mL in the reconstitution volume, and units on the syringe. If you can move between those without hesitation, you are far less likely to accept a wrong number just because a tool produced it.
Use this sequence every time:
That sequence is the foundation. Once it is solid, purity adjustments and blend calculations become much easier to verify instead of trusting blindly.
The fastest way to build confidence is to work through actual numbers. One example should be a straightforward single-peptide setup. The other should reflect the added logic of blends, where the ratio of components remains fixed but each compound still has its own effective concentration.
Start with a common scenario that appears in many calculators. When 5 mg of peptide powder is mixed with 3 mL of bacteriostatic water, the resulting concentration is 1.7 mg/mL, and a target dose of 250 mcg requires drawing 0.15 mL, or 15 units on the syringe (Prime Peptides blend calculator example).
The important part isn't just the answer. It's how the answer is reached.
First, convert the vial amount into the same scale as the target dose. If the target is in micrograms, the vial amount should also be considered in micrograms during the calculation process. Then divide by the total water volume to determine concentration. After that, divide the target dose by that concentration to get the draw volume.
In practice, this kind of setup is useful because 15 units is easy to identify on a standard 1 mL insulin syringe. That makes it more forgiving in routine lab handling than a very small fractional draw.
Blends introduce a different question. You aren't only asking how much total material is in the vial. You're asking how much of each component is present per mL after reconstitution.
For peptide blends and stacks, the concentration of each compound is calculated by dividing that specific compound's content in micrograms by the total reconstitution volume in milliliters. Pre-loaded ratios such as BPC-157/TB-500 remain constant regardless of water volume added (PeptideMind blend calculator).
That point matters because many researchers make a wrong assumption here. Adding more water changes the concentration per mL. It does not change the ratio between compounds inside the same blend.
If the blend ratio is fixed in the vial, reconstitution changes concentration, not composition.
Suppose you're evaluating a blend for a protocol and want a draw that delivers a practical amount of the mixture in one pull. The right process is to calculate each component's concentration per mL from the total reconstitution volume, then determine what a given draw contributes for both compounds simultaneously. That's how you keep the blend math aligned with the actual vial contents.
| Variable | Example 1: Single Peptide | Example 2: Peptide Blend |
|---|---|---|
| Starting material | 5 mg peptide powder | Fixed-ratio blend |
| Reconstitution volume | 3 mL bacteriostatic water | Total mL chosen by researcher |
| Concentration method | Total peptide ÷ total volume | Each peptide component ÷ total volume |
| Known concentration result | 1.7 mg/mL | Depends on each component in the blend |
| Target dose | 250 mcg | Determined by desired blend exposure |
| Draw volume result | 0.15 mL | Calculated from each component concentration |
| Syringe interpretation | 15 units | Convert final mL to units on the chosen syringe |
| Main caution | Keep units consistent | Don't confuse fixed ratio with fixed concentration |
For a single peptide, the easiest setup is often the one that produces a clean, readable syringe pull. For blends, readability still matters, but the bigger priority is verifying the concentration of each peptide in the final solution.
A useful calculator can speed this up. A careful researcher still verifies:
That combination of calculator plus manual check is what keeps routine reconstitution from becoming sloppy reconstitution.
The average online calculator handles simple arithmetic well. It struggles with real-world nuance. That's a problem because research-grade peptide work often depends on details that aren't represented in the default fields.
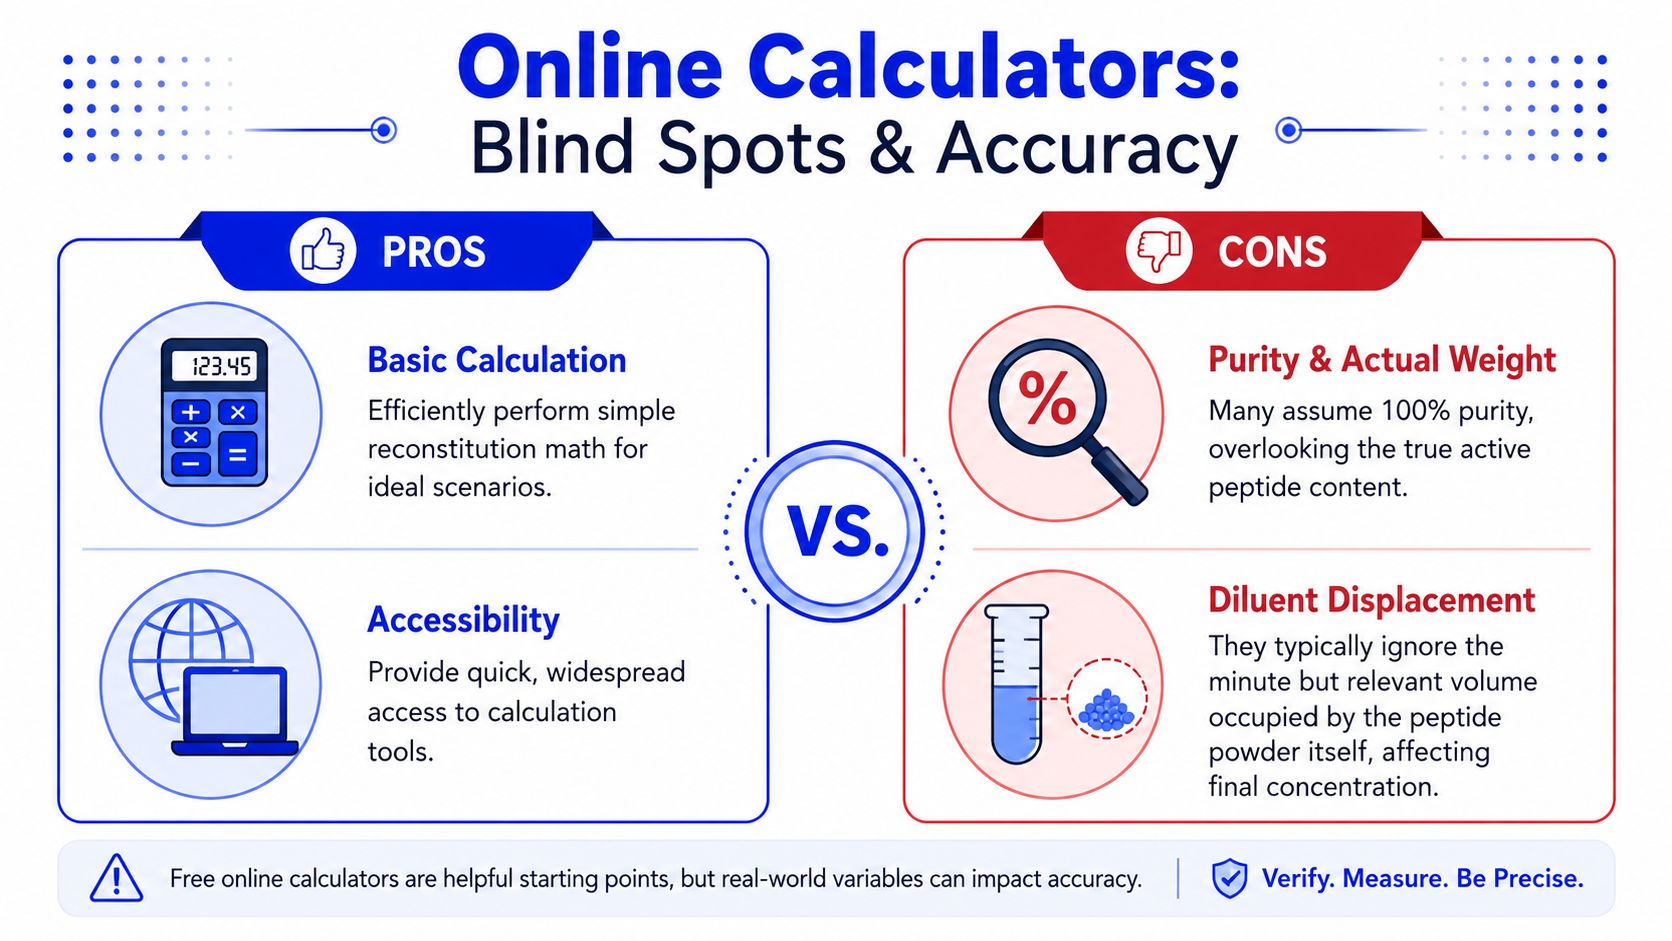
Most peptide calculators assume the vial contains 100% pure peptide. In real lab workflows, that assumption can be too simplistic.
One review of this issue points out that calculators generally fail to adjust for purity even when a Certificate of Analysis lists something like 99.5% purity, leaving researchers without a way to match their calculated dose to actual bioactive content (Onyx Biolabs peptide calculator discussion).
That doesn't mean the calculator becomes useless. It means the result is only as precise as the inputs allowed by the tool.
If your protocol depends on tight exposure consistency, purity matters because the labeled vial weight and the active peptide amount may not be perfectly interchangeable in practical terms. That's especially relevant when comparing lots, documenting methods, or trying to maintain clean repeatability.
There's another usability problem that shows up quickly in beginner workflows. Most calculators ask how much bacteriostatic water was added. But very often, that's the part the researcher is trying to decide.
A critique from the biohacker community highlights this exact issue. Existing tools often treat water volume as a required input when users need help choosing the water amount that creates an appropriate working concentration. The proposed fix is to reverse the logic and compute water volume from vial size and target dosing goals instead (discussion of why peptide calculators ask the wrong question).
This is more than a design complaint. It affects how people think.
When a tool starts by asking for water volume, it assumes the operator already understands the concentration they want. Many beginners don't. They know the vial size and target dose, but they don't yet know which dilution makes the most practical syringe draw.
The best way to use a peptide dosage calculator is to treat it like a fast draft. Then check the result against actual variables the tool may ignore.
A stronger workflow looks like this:
A simple calculator solves the visible math. Experienced researchers also solve the hidden assumptions.
A common failure point shows up after the math is done. The notebook says one concentration. The vial and syringe deliver another.
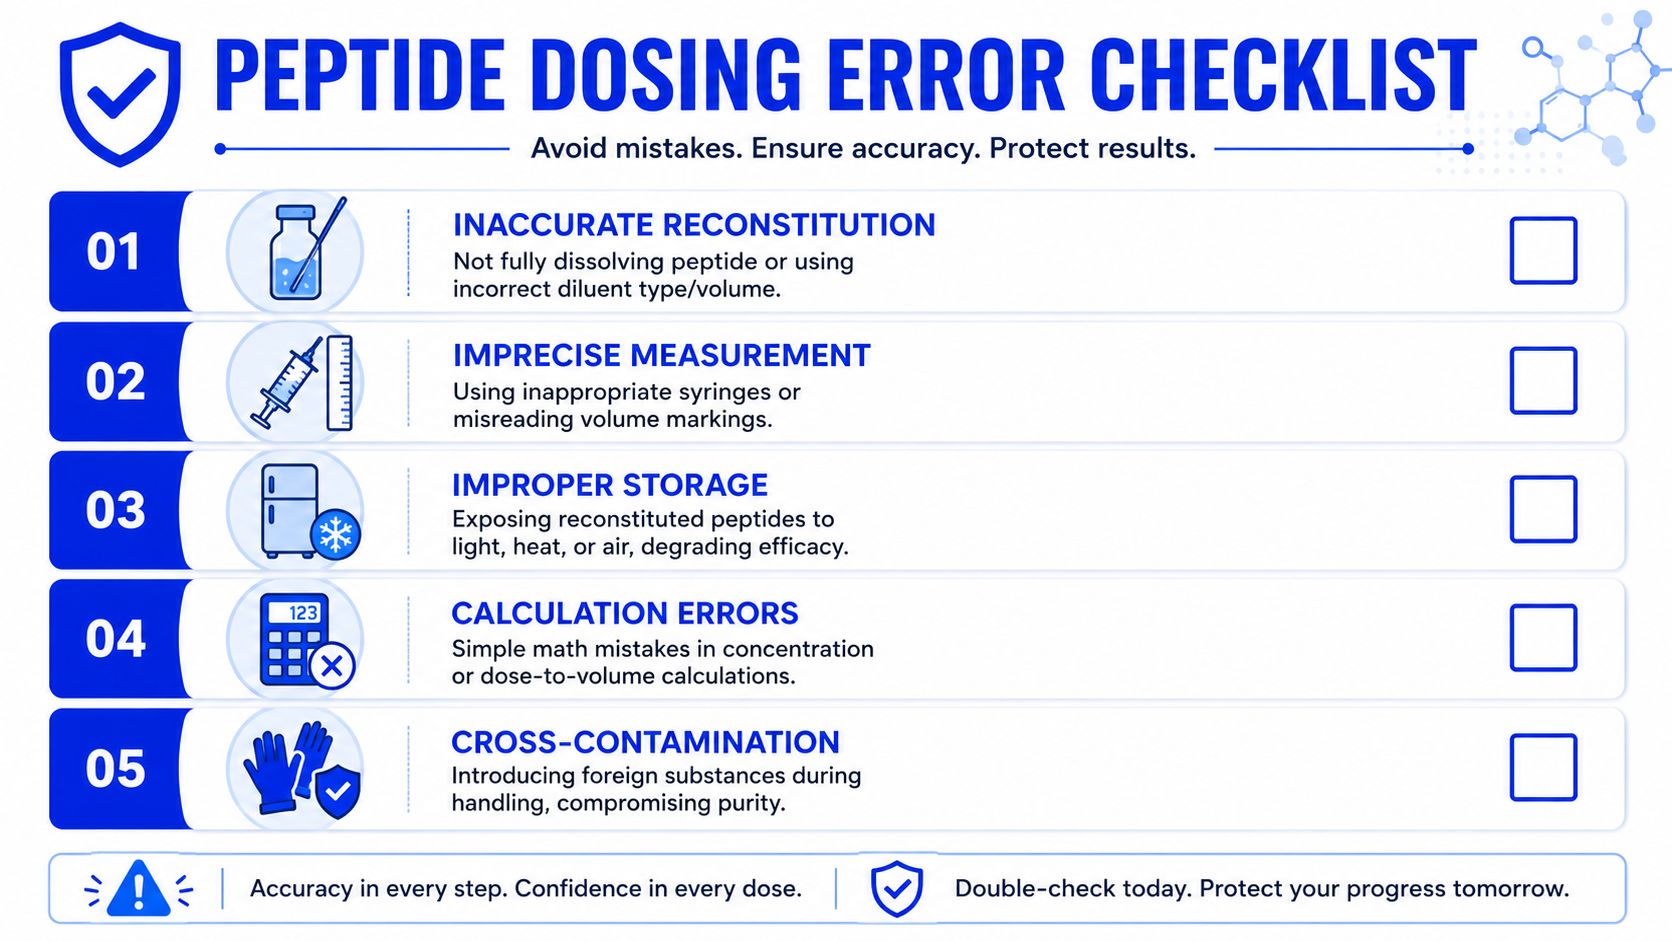
In practice, dosing errors usually come from handling choices that seem minor at the bench. Water added too fast can leave peptide stuck on the glass. Aggressive shaking can foam the solution and make visual inspection harder. Sloppy diluent measurement shifts concentration before a single draw is taken. The Exploring Peptides calculator guide notes that handling mistakes such as improper water addition, excessive shaking, and inaccurate volume measurement account for a meaningful share of dose inconsistency in research settings, and it also explains why 1 mL insulin syringes are often easier to read because each unit represents 0.01 mL.
That matters because a calculator only solves the arithmetic. It does not confirm that you added the intended volume, achieved full dissolution, or drew the dose cleanly.
The routine I want new staff to follow is simple:
A correct formula does not rescue poor technique.
Syringe choice changes how likely you are to hit the planned volume. If the dose requires a tiny pull that sits between markings or barely clears the hub, accuracy becomes operator-dependent fast. A cleaner dilution often produces a cleaner draw.
Dead space is another source of loss that basic calculators usually ignore. Fluid left in the hub or needle can matter a lot when the peptide is expensive, the volume is small, or the protocol uses repeated low-volume pulls. This is one of the gaps that separates a quick calculator result from a lab-ready plan. The math may be correct on paper, but the delivered amount can still drift if the equipment setup is a poor match for the concentration.
Purity and blend errors also show up here, even though they start upstream. If the vial contains less than the labeled net peptide content because purity was not accounted for, or if a blend is treated like a single compound, every later syringe draw looks precise while still being wrong. That is why experienced researchers check the full chain, not just the final unit conversion.
Error reduction comes from standardizing the bench routine.
This is the part many online peptide dosage calculators miss. They give an answer, but they do not force the operator to check whether that answer survives real handling. Good labs close that gap with process discipline.
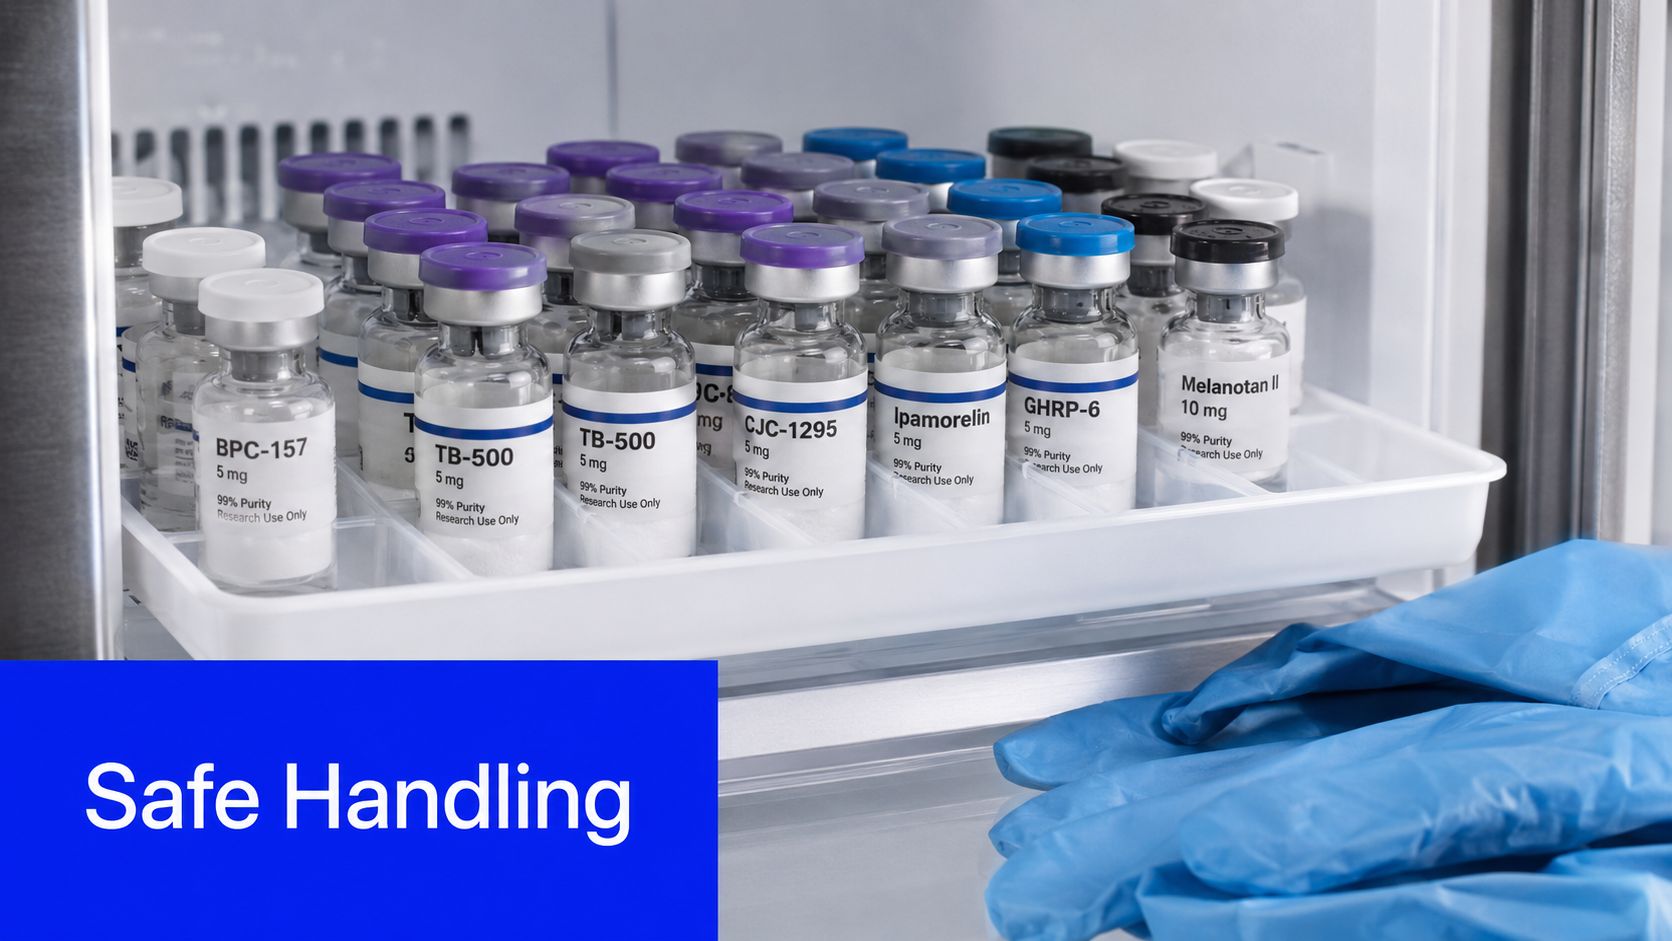
Research peptides should be handled as laboratory materials only. They are not for human consumption, and any responsible workflow should keep that boundary clear in labeling, storage, documentation, and team training.
The safest labs treat peptide work as both a precision task and a contamination-control task. Clean tools, accurate labeling, and consistent handling habits matter just as much as getting the concentration right.
That means using a written reconstitution log, tracking lot information, and separating active work vials from longer-term stored material. If multiple compounds are in use, label every vial with identity, concentration, reconstitution date, and storage condition. The less your team has to guess, the fewer preventable mistakes you'll see.
Storage isn't a side issue. It directly affects whether your prepared solution remains usable across the planned research window.
One peptide storage reference states that reconstituted peptide solutions remain chemically stable for 3 or more weeks at +4°C and 3–4 months at -20°C, while repeated freeze-thaw cycles compromise integrity, which is why aliquoting is recommended (Particle Peptides peptide calculator and storage guide).
That guidance supports a straightforward lab habit. If you expect repeated use over time, divide the solution into aliquots instead of returning the same vial to freeze-thaw conditions over and over.
A strong protocol usually includes these basics:
The best peptide dosage calculator can only help with one part of the workflow. Reliable research comes from combining correct math, careful reconstitution, appropriate syringe choice, and disciplined storage. That's what turns a vial into a repeatable protocol instead of a rough estimate.
Researchers who care about traceability, purity, and consistent lab supply can learn more at Peptide Warehouse USA and explore options backed by third-party documentation, COAs, and research-use-only standards.