No products in the cart.


You're probably looking at a small vial of lyophilized peptide, a syringe, and a calculator tab, wondering whether the number on screen is right. The significance of that moment is often underestimated. A tiny input mistake can change the concentration you think you made, which means every draw after that is off too.
A good reconstitution dosage calculator helps, but it only works if you understand the math underneath it. That's where confidence comes from. Not from trusting a tool blindly, but from knowing why the answer makes sense, how to catch input errors, and what to verify before anything enters your workflow.
Reconstitution looks simple on the surface. You add diluent to a powdered vial, dissolve the contents, and calculate a draw amount. In practice, this is one of those lab steps where a basic misunderstanding can follow the sample all the way through the rest of the experiment.
The key principle is straightforward. The foundational mathematical principle for all reconstitution dosage calculators is the concentration formula: Concentration (mg/mL) = Mass of dry ingredient (mg) ÷ Volume of diluent (mL), and the final strength depends only on the ratio of vial mass to added liquid volume, as summarized by this reconstitution formula reference.
If you remember one idea, remember this one: the vial amount and the liquid volume create the concentration. Everything else comes after that.
Reconstitution involves dissolving a measured amount of powder into a measured amount of liquid. If the same mass goes into less liquid, the solution becomes more concentrated. If that same mass goes into more liquid, the solution becomes less concentrated. The total amount of peptide in the vial hasn't changed. Only how spread out it is has changed.
Practical rule: Before you calculate a dose, stop and confirm the two numbers that define concentration. The vial label and the diluent volume.
That's why a reconstitution dosage calculator isn't using some mysterious peptide-specific algorithm. It's applying a standard mass-to-volume relationship. Digital tools save time. They don't replace understanding.
Most confusion happens in predictable places:
A careful workflow fixes most of this. Read the label. Record the vial quantity. Record the exact diluent volume. Then calculate concentration first.
That order matters because dosage math becomes much easier once the solution strength is clear. For anyone researching compounds like BPC-157, TB-500, GHK-Cu, or PT-141, that single habit makes the entire process more repeatable and easier to audit later.
Most researchers use a reconstitution dosage calculator to move fast. That's reasonable. But if the output looks odd, you need enough understanding to know whether the tool is wrong or your inputs are.
Every peptide reconstitution problem comes back to three working values:
Those values connect in a fixed sequence. First you create a concentration. Then you figure out how much liquid contains your target dose. Then, if you're using a U-100 insulin syringe, you convert that liquid volume into syringe units.
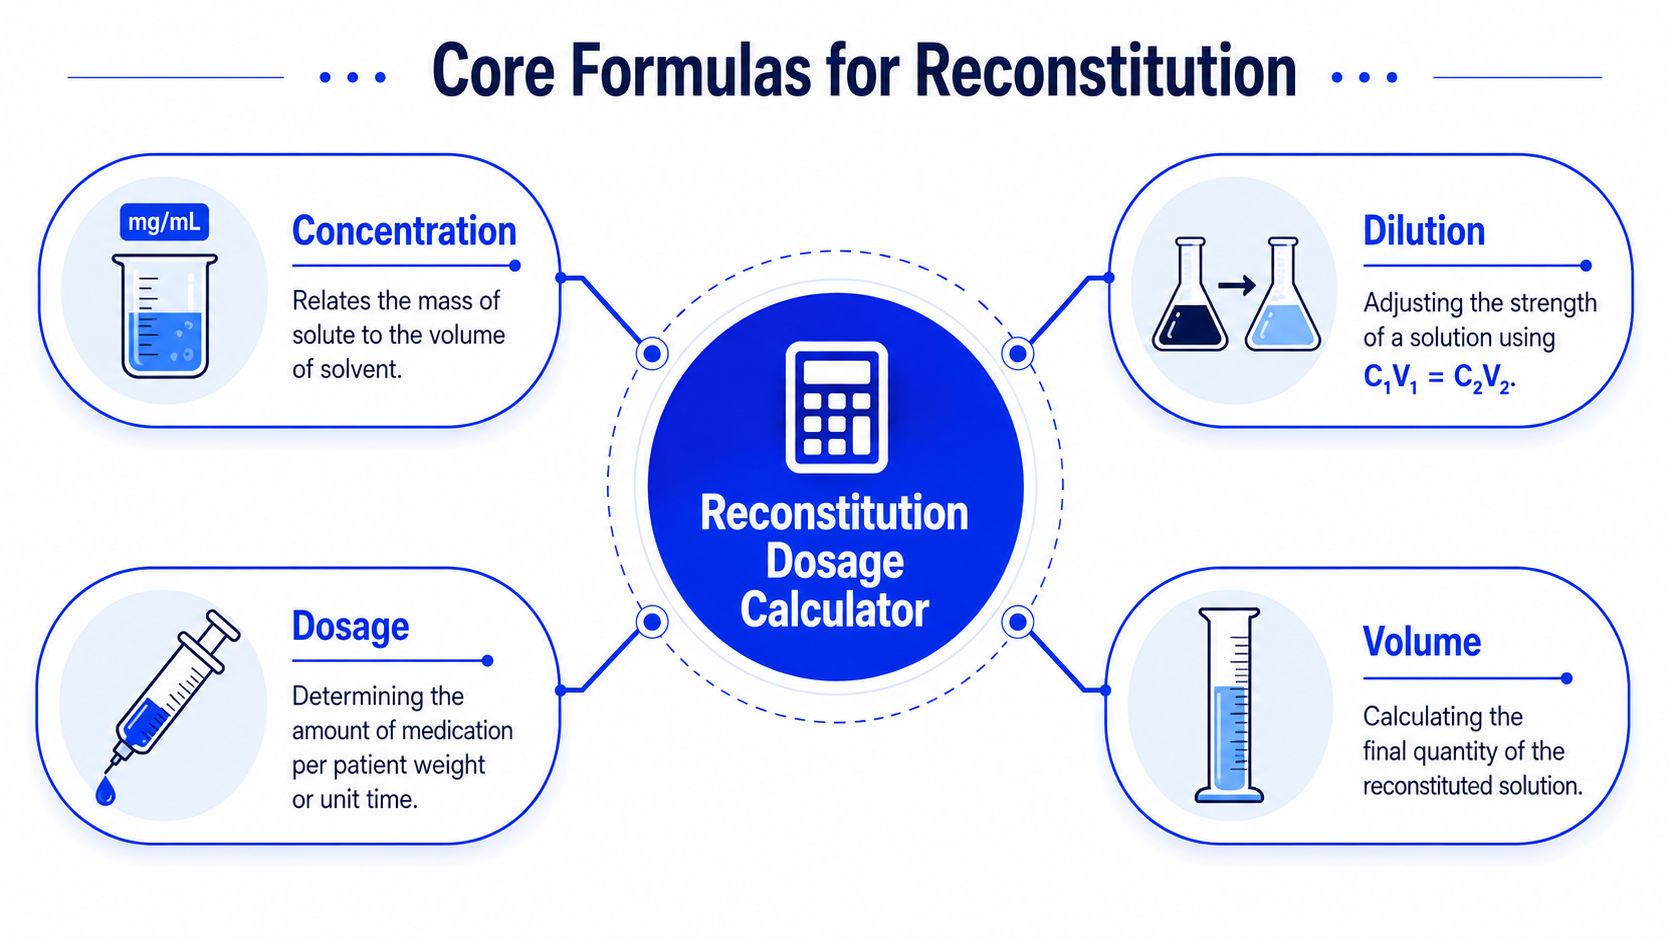
The standard sequence for peptide reconstitution dosage math is:
The peptide-specific version is documented in this peptide dosage volume reference, which states:
Here's the logic in plain language.
You start with total peptide amount in the vial. Because research peptide doses are often discussed in micrograms, you convert milligrams to micrograms by multiplying by 1,000. Then you divide by the reconstitution volume.
That tells you how many micrograms are present in each milliliter.
Once concentration is known, the second step gets easier. You divide the target dose by the concentration. That gives you the liquid volume needed to deliver that amount.
This is the part many basic tools hide from the user. But it's the most important line to understand because it ties the desired dose directly to the actual draw volume.
If the syringe is a standard U-100 insulin syringe, the final conversion is mechanical. You multiply the liquid volume by 100 to match the unit markings on the barrel.
A calculator becomes much more useful when you can glance at the output and recognize whether the draw volume is plausible.
If you like strengthening your logic with problem-solving drills, rigorous molecular science questions can be a useful way to practice thinking carefully through technical details and unit relationships.
A digital tool can speed up repetitive work, but it can't rescue a bad input. If you type mcg where the form expects mg, or enter the wrong reconstitution volume, the result will still look neat and precise. It will just be wrong.
That's why disciplined researchers do a quick manual sense-check:
| Check | Question to ask |
|---|---|
| Vial amount | Did I enter the exact mass shown on the label? |
| Diluent volume | Did I enter what I actually added, not what I planned to add? |
| Target dose | Is the dose unit mg or mcg? |
| Output | Does the final draw volume look reasonable for this setup? |
This is also where broader lab thinking helps. A calculator is one instrument in a workflow, not the workflow itself.
Examples make the math less abstract. The two scenarios below use familiar research compounds and show the full path from vial to syringe marking.
A researcher has a 5 mg vial of BPC-157 and adds 2 mL of diluent. The target draw is 250 mcg.
Start by converting the vial content into micrograms.
Now calculate concentration.
Now calculate the required volume for a 250 mcg target dose.
If the researcher is using a standard U-100 insulin syringe, the final step is the syringe conversion. A standard U-100 syringe holds exactly 100 units per mL, so the unit formula is explained in this insulin syringe dosage conversion guide.
So in this setup, 250 mcg equals 0.1 mL, or 10 units.
Now use a larger vial. A researcher has a 10 mg vial of TB-500 and adds 2.5 mL of diluent. The target dose is 500 mcg.
Convert the total vial amount first.
Calculate concentration.
Now calculate draw volume for 500 mcg.
Convert to U-100 syringe units.
That means the correct draw is 0.125 mL, which corresponds to 12.5 units on a standard U-100 insulin syringe.
When the answer lands on a fractional unit mark, pause and decide whether your measuring setup can support that precision cleanly and repeatably.
The examples look different, but the logic never changed.
| Compound example | Vial amount | Diluent volume | Target dose | Final volume | U-100 units |
|---|---|---|---|---|---|
| BPC-157 | 5 mg | 2 mL | 250 mcg | 0.1 mL | 10 |
| TB-500 | 10 mg | 2.5 mL | 500 mcg | 0.125 mL | 12.5 |
That consistency is a key value of the method. Once you understand the sequence, you can apply it to many research peptides without changing the underlying math.
A useful habit is to write calculations in a notebook exactly as performed. That makes it easy to verify later, especially if a result looks unusual or a colleague needs to review the setup.
A researcher is at the bench with a reconstituted vial, a syringe, and a calculator result on screen. The number looks precise, but precision on a screen is only useful if each input matches the actual vial, the actual diluent volume, and the actual syringe in hand.
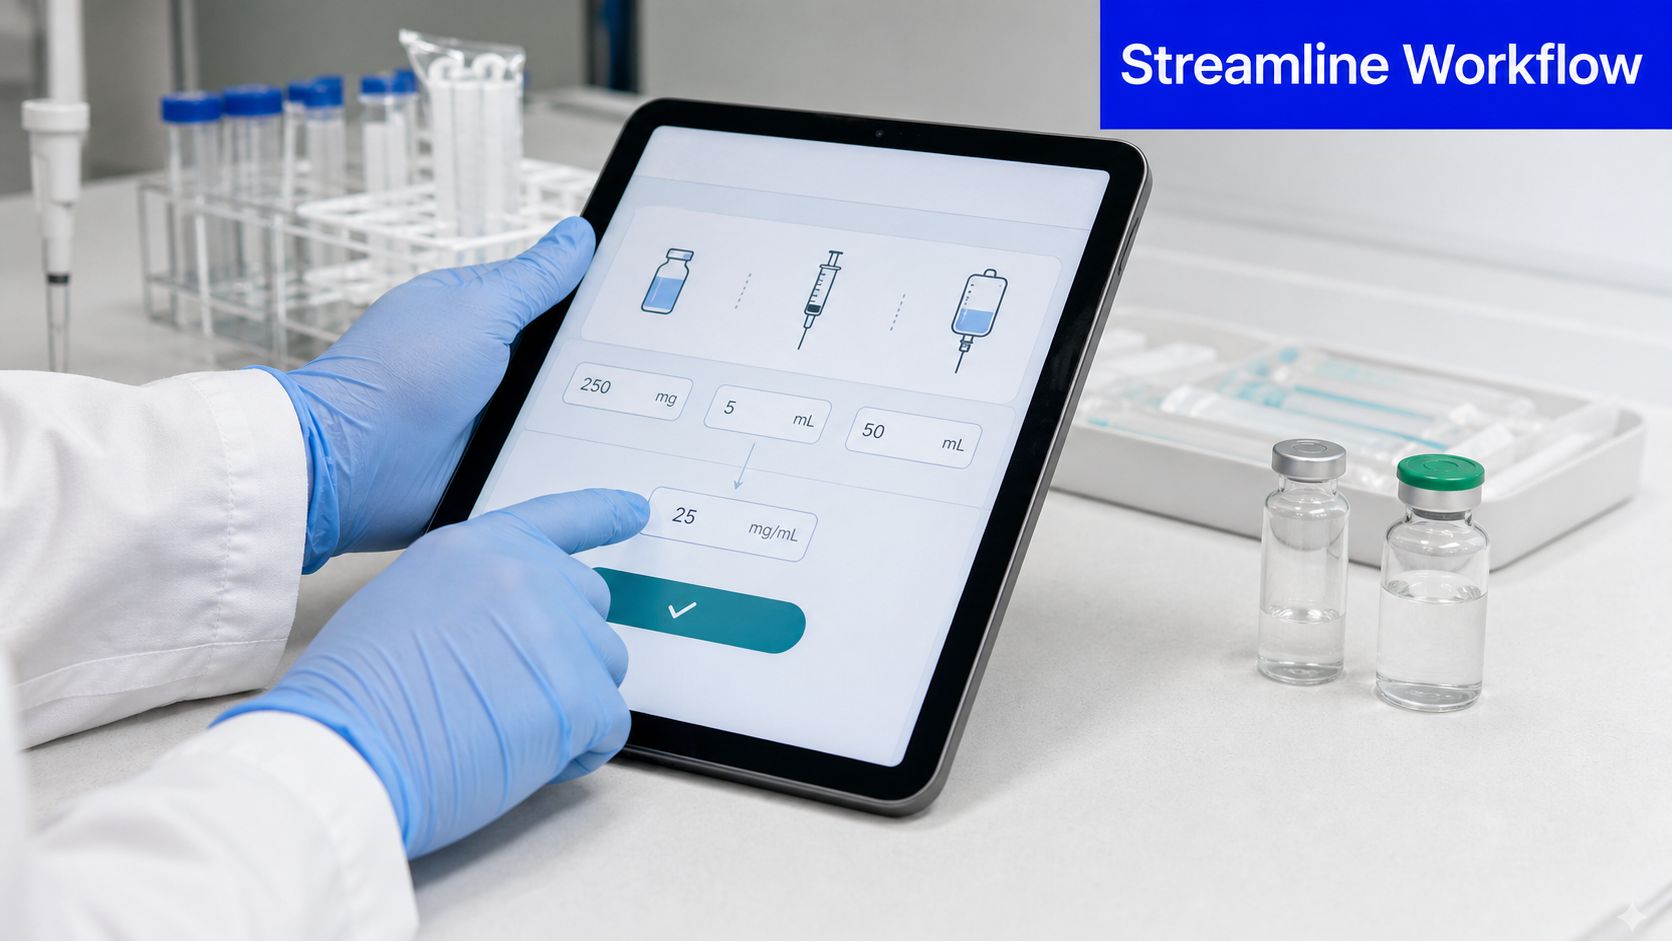
A calculator is a measuring aid. It works like a label printer for math. If the source numbers are wrong, the output will still look neat while pointing you to the wrong draw volume.
Standard peptide calculators usually ask for four inputs, as shown in this peptide calculator input guide:
Each field answers a different question.
Peptide vial quantity tells you how much material was present before mixing.
Bacteriostatic water volume tells you how much space that material is spread across after mixing. Together, those two values create the concentration.
Desired dosage asks how much active material you want in a single draw.
Syringe volume does not change the chemistry. It helps you read the result against the markings of the device you are using.
That distinction prevents a common misunderstanding. The syringe size does not determine the dose. It only determines how easily you can measure the calculated volume.
Enter the values in the same order you would verify them at the bench:
That last step is the one basic calculators often skip. They provide an answer, but they do not check whether you entered 5 mg instead of 5000 mcg, or 0.5 mL instead of 5 mL. The user has to perform that logic check.
A careful workflow is simple. First, estimate the answer roughly in your head. If a vial has a high concentration, the draw volume for a small dose should be small. If the calculator returns a large fill volume instead, that mismatch deserves a stop and review.
Some research suppliers provide calculator tools for this purpose. Peptide Warehouse USA's reconstitution calculator is one example used in research workflows. The useful part is not the interface alone. The useful part is pairing the interface with your own verification steps and essential lab safety protocols.
Workflow note: Use the calculator as a second check, not as the first place the numbers are examined.
A good habit is to compare the screen result with a handwritten line of reasoning: vial amount, total diluent, concentration, target dose, final draw. If those two paths agree, confidence goes up. If they disagree, stop and find the mismatch before any material is drawn.
Good math doesn't rescue poor handling. Accurate reconstitution depends on cleanliness, labeling, documentation, and source verification just as much as it depends on formulas.
Training materials in dosage calculation have long emphasized a simple safety habit: estimate what a reasonable answer should look like, then review the final result to confirm it falls within a safe range. That expectation appears directly in this nursing dosage calculation resource, which notes that students are taught to “approximate the expected dose” and “review the calculated dose to ensure it falls within a safe range” before administration.
That mindset applies cleanly to peptide research.
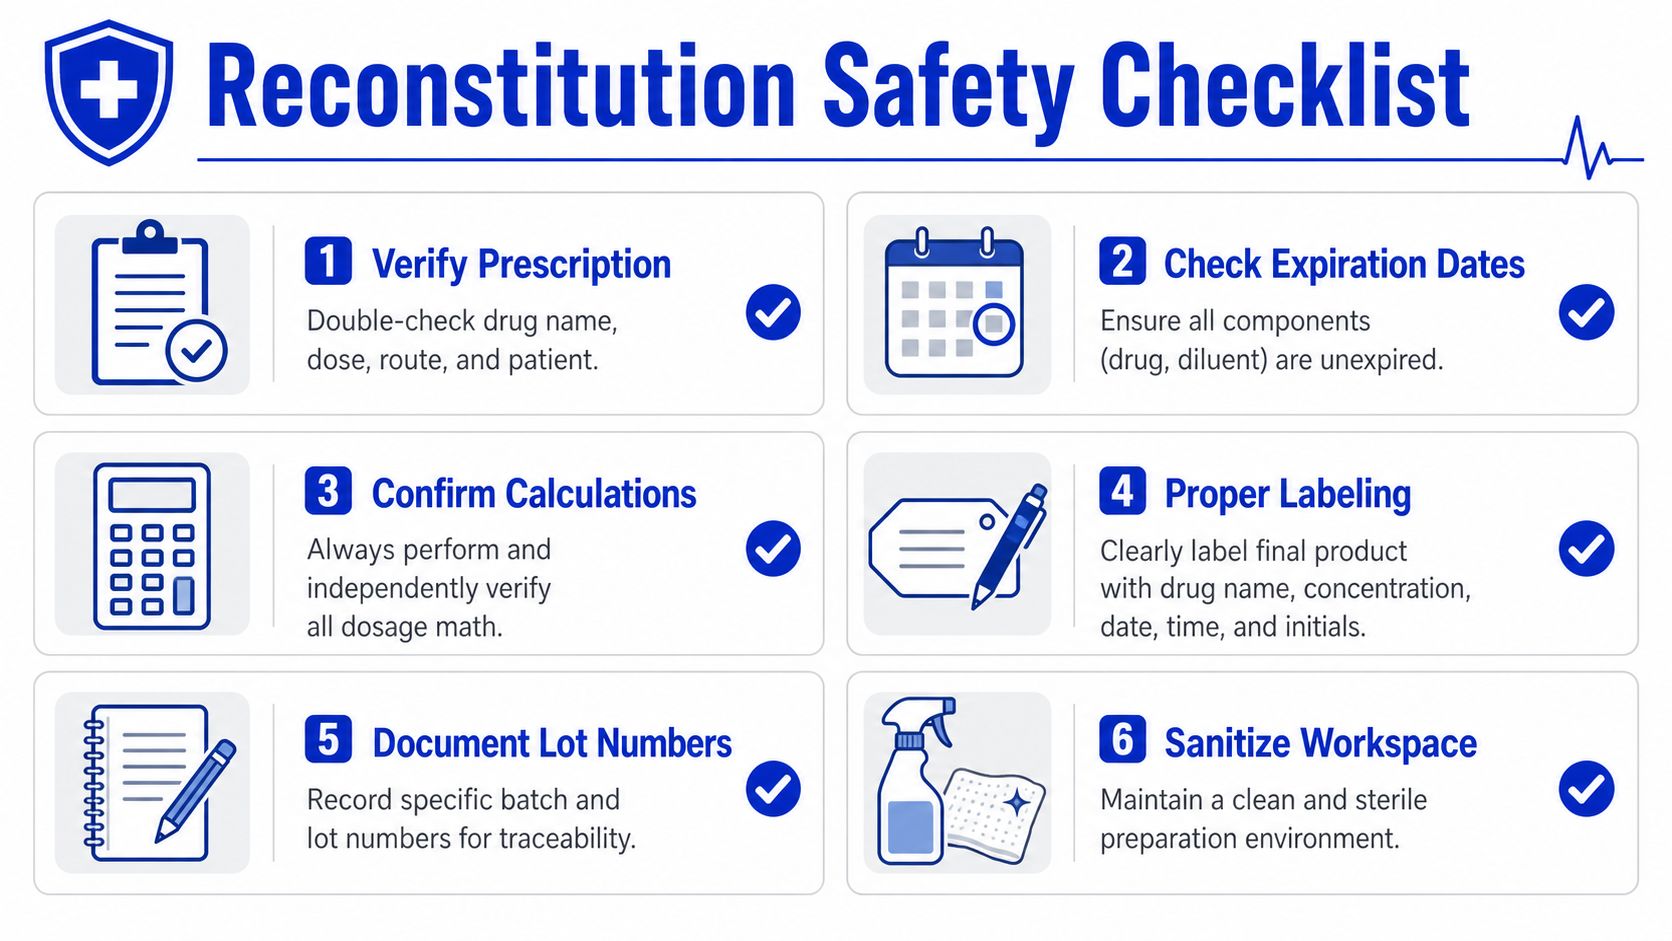
A practical reconstitution checklist should include:
For broader preparation habits around controlled lab workflows, these essential lab safety protocols are a useful companion resource.
Researchers often think of documentation as paperwork. It's really error control.
A clear record answers basic but critical questions later:
If your supplier provides a Certificate of Analysis, microbial reports, endotoxin documentation, or stated purity information, keep those records connected to your internal notes. That doesn't replace careful reconstitution, but it gives your starting material traceability.
The first calculation in a peptide workflow begins with trusting the vial label. The first quality question is whether that trust is documented.
This is one place where serious sourcing matters. Transparent batch records don't make a compound more concentrated or easier to calculate. They make the starting assumptions more defensible. For labs that care about repeatability, that's not a luxury item. It's part of the method.
A reconstitution dosage calculator is useful because it turns repeatable math into a quick workflow. Its real value appears when the user understands what the tool is doing and can spot a wrong answer before it causes problems.
The most dependable approach is simple. Confirm the vial mass. Confirm the diluent volume. Calculate or verify the concentration. Convert the target dose into a draw volume. Then match that volume to the syringe markings you're using.
That process is more than arithmetic. It's a quality habit.
Researchers who build that habit usually make fewer avoidable mistakes because they don't rely on a single screen output. They use the calculator, but they also check whether the answer fits the setup in front of them. That's what makes reconstitution repeatable across compounds, batches, and experiments.
The same mindset carries over to broader peptide work. Whether you're comparing compounds, evaluating stacks for research design, or exploring the benefits of peptides in analytical and preclinical settings, precise preparation is the starting point. Without that, everything downstream becomes harder to interpret.
If you're refining your lab workflow, keep your math visible, your labels clear, and your documentation tied to the exact material you used. That combination creates confidence that lasts beyond one vial.
If you need research-grade materials with transparent documentation for peptide workflows, Peptide Warehouse USA offers US-made research peptides and related compounds for laboratory, analytical, and preclinical use. You can learn more, explore options, and review available product documentation before placing an order.